In the evolving technological world, there is a greater need to integrate desktop and mobile applications seamlessly.
Most of the smartphone users have Android as their operating system. Thus, it has become important to have Android apps on PC so that users can experience the Android system on a larger screen.
How to Install An Android App on a PC?
Here are the best and easiest ways how to install an Android app on a PC.
1) Android Emulators
One of the best ways to install and run Android apps seamlessly on a PC is with Android emulators. Android emulators are tools that simulate the Android operating system on a PC.
Though there are various Android emulators, only a few are compatible with both Windows and Mac. BlueStacks is the best Android emulator that can run both on Windows and Mac. Here’s how you can install BlueStacks:
Step 1: Download and Install BlueStacks Installer.

- Go to the official website of BlueStacks (https://www.bluestacks.com) and click on the “Download BlueStacks 5” button. BlueStacks 5 is the lightest version of the BlueStacks emulator. It supports Windows 7/8/10/11 and almost all the versions of macOS.
- Run the downloaded installer file and complete the installation by following all on-screen instructions.
Step 2: Set Up BlueStacks.
- Launch BlueStacks 5 after the installation.
- Sign in with your Google credentials. If you don’t have a Google account, you need to create one.
Step 3: Install Android apps.
- Open and access the Google Play Store within the BlueStacks 5.
- Search for the desired Android app from the search bar and click “Install”.
- The installed Android app will appear in the BlueStacks interface. Enjoy the Android experience on the PC.
2) Amazon App Store
Amazon App Store stands as one of the easiest ways to install and run Android apps on a Windows PC.
To use the Amazon App Store, you need to have a Windows Subsystem for Android. Windows Subsystem for Android is pre-installed on Windows 11, but for earlier versions of Windows, you have to install it from Microsoft Store.
You can follow these steps to install Android apps on a PC using the Amazon App Store.
Step 1: Download and Install Amazon App Store Installer.
- Search “Amazon App Store” from the Microsoft Store of Windows 11.
- Download and run the installer by following the on-screen instructions. You may need to enable “virtualization” in the case of previous versions of Windows.
Step 2: Set Up Amazon App Store.
- Restart your PC after the installation process.
- Once the PC restarts, the Amazon App Store will be opened within the Windows Subsystems.
- Sign in with your Amazon credentials to sync preferences and purchases across multiple devices.
Step 3: Install Android apps.
- Explore and download the apps from the Amazon App Store by clicking on “Get App”.
- Complete the installation process of the app and enjoy the Android version of the app on a larger-screen PC.
[Note: The compatibility of Windows 10 with Windows Subsystem is limited. So this option is most recommended for Windows 11 users only.]
3) Direct Install Android App
If you want to get only a few apps, you can directly install the Android app on your PC. This involves manually downloading and installing the app’s Android application package (APK). Here’s a step-by-step guide to installing the app directly.
Step 1: Select and download the app’s APK file.
- Go to the official website of the desired Android app and click “Download”.
- Ensure that the source from where the app is being downloaded is reliable, trustworthy, and authentic.
Step 2: Complete the installation process.
- Open “Settings” on the PC. Navigate to “Security Settings”.
- Enable installations from the “Unknown sources.”
- Open the downloaded APK file and follow the instructions to complete the installation process.
Step 3: Launch the app.
- Restart your PC after the installation process.
- Once the PC is restarted, you can access the Android app directly on your PC.
[Note: If you end up downloading APK files from untrusted sources, it can expose your system to malware or security risks. Hence, always make sure to verify the source before proceeding with the downloading process.]
4) Install Android directly on your PC
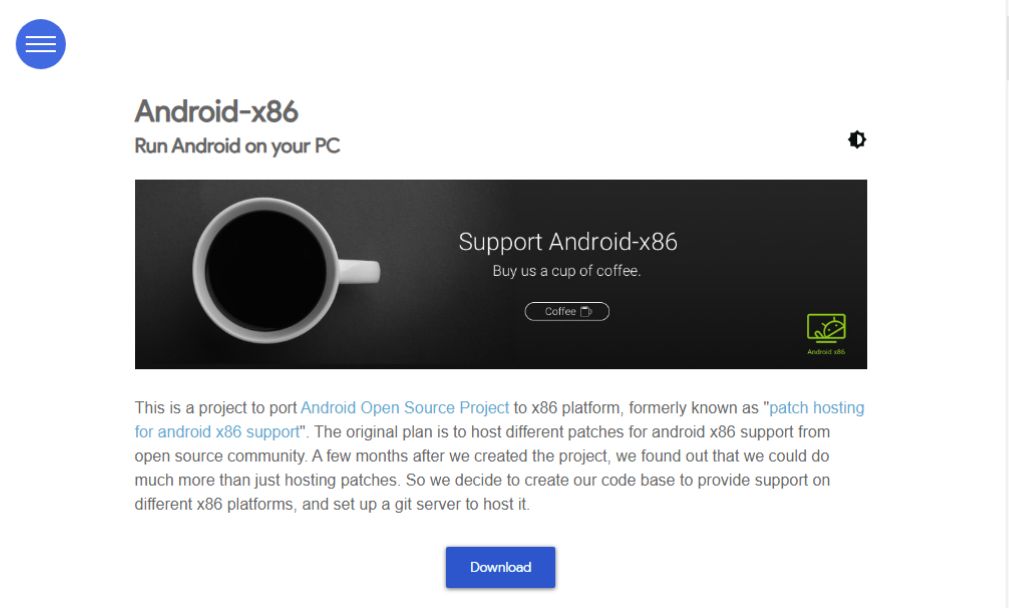
Android, being an open-source software with a lightweight OS can directly be installed on your PC. Among the best Android OS are Android x86 and Bliss OS, which offer Android OS without customization.
If you want to install Android on a PC using Android x86, you need to follow the below instructions:
Step 1: Download the ISO file of Android x86.

- Go to the official website of Android x86 (https://www.android-x86.org/) and click on the “Download” button.
- You can get the ISO download link from either of the Mirror (Fosshub or OSDN) websites.
- According to your PC’s configuration, choose a 32-bit or 64-bit ISO file.
Step 2: Download Rufus software.
- Download the Rufus flashing tool from the Rufus official website.
- Rufus is a burning tool that helps to burn any ISO file into the USB drive.
Step 3: Flash ISO to the USB drive.
- After launching Rufus, the system will automatically detect the flash USB drive inserted into the PC.
- To select an Android x86 ISO file, click on “Select” and then follow the on-screen instructions. This will help to burn the ISO file into the USB drive.
Step 4: Boot the ISO file from the Flash drive.
- While booting the system, press the designated key according to the configuration of your PC.
- Search for the booting settings and select flash drive as the booting device.
- Save and exit the booting setup.
- Restart the PC for booting the system again with the booting device (flash drive).
Step 5: Install Android x86.
- During the booting process, select the “Installation” option.
- It will display a list of partitions, from which you can choose to create a new partition or modify the existing one.
- Choose NTFS so that you can keep partitions for both Android as well as Windows.
- After completing the installation process, click on “Reboot” or “Run Android x86”.
- Now, you can run and install any Android app on this “Android x86” OS.
Key Takeaways
The above-mentioned ways can help you to answer your query “how to install an Android app on a PC”. All these methods have specific requirements according to the configurations of your PC. So, try to choose the best that suits your requirements.
Also, check out the below-recommended articles:


